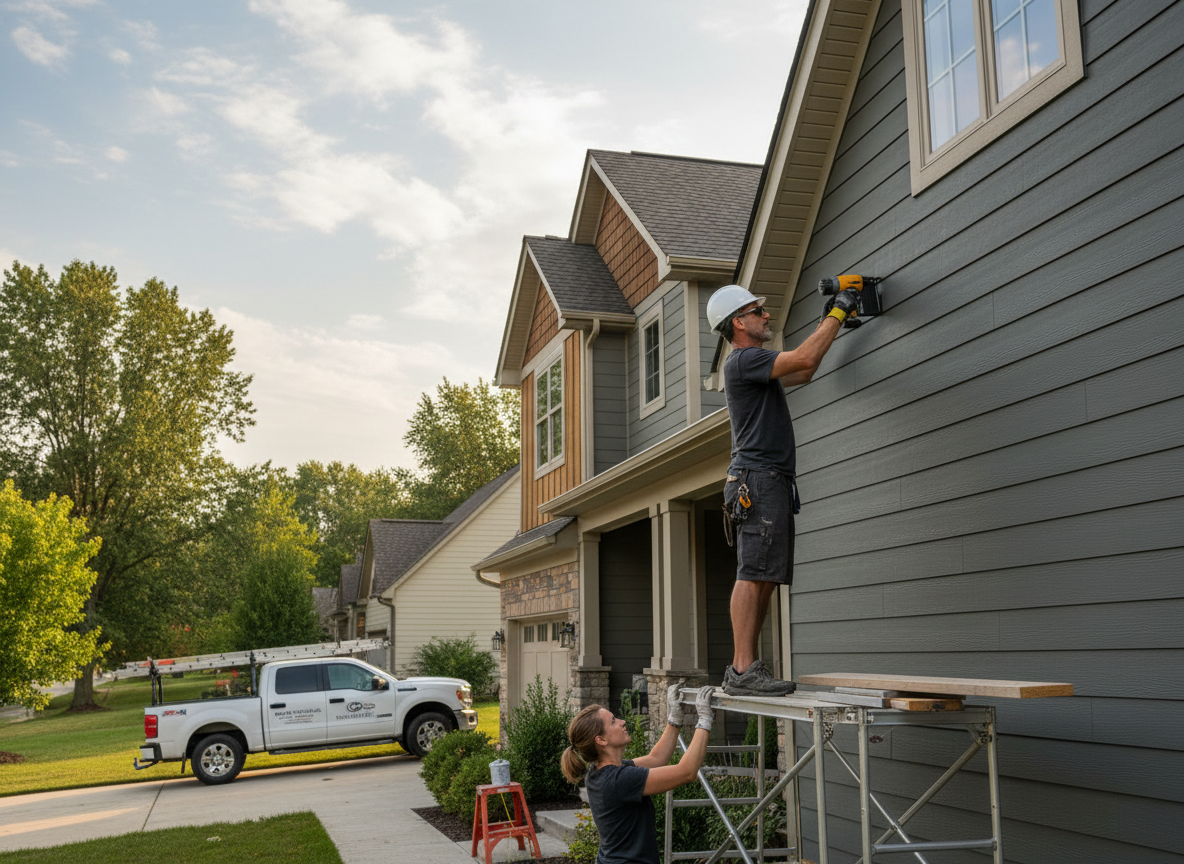
Anderson Township homes built from the 1960s through the 1990s often carry original wood or early vinyl siding that has absorbed decades of freeze-thaw cycles and heavy spring rains. Proper installation starts with checking sheathing for rot, especially on north-facing walls where sun exposure is limited and moisture lingers. We use housewrap with taped seams and integrate new flashing at every window, door and roof intersection so water is directed away from the foundation rather than trapped behind the new siding.
Fiber cement planks require specific nailing schedules and expansion gaps that differ from vinyl. In Hamilton County, where summer humidity can reach 80 percent and winter lows drop below freezing, skipping those gaps leads to buckling within two seasons. We also address the slope of lots common in Anderson Township; many properties sit on hills where runoff concentrates at the base of the wall, so we extend the starter course and add weep holes to keep the bottom edge dry.
Code requirements in the Anderson Township area call for proper attachment into studs rather than sheathing alone, plus a minimum air gap behind certain claddings. Homeowners frequently overlook the need to pull permits when changing siding material, which can affect insurance and future resale. We coordinate inspections and document each layer so the work meets local standards without surprises during closing.
Edge conditions around chimneys, bay windows and decks demand custom trim returns and step flashing that standard crews often shortcut. In older neighborhoods near Beechmont Avenue, settled foundations can tilt walls slightly, requiring us to scribe the first course rather than force straight planks. Taking time on these details prevents callbacks after the first hard winter.
Technician insight
In Anderson Township the thing that catches most people out with siding installation contractor is how many 1970s split-levels on sloped lots have settled enough that the bottom plate sits out of level; if you start with a straight course you end up with tapered reveals at every window and the water ends up trapped against the foundation instead of shedding.
Split-Level Siding Refresh on a Hillside Lot
Homeowner called after noticing water stains inside a lower-level bedroom during heavy spring rain. We found the original wood siding had cupped along the downhill wall and the old felt paper had torn where the foundation had settled. We replaced the damaged sheathing, installed new taped housewrap with extended flashing at grade, and hung fiber cement planks with an extra starter course to follow the slope. The interior staining stopped after the next rainfall.
How it works
- 1
Site Assessment
We inspect existing siding, sheathing, flashing and drainage around the full perimeter, noting any slope or foundation issues typical in Anderson Township lots.
- 2
Material Selection and Prep
Homeowner chooses vinyl, fiber cement or wood; we confirm quantities, colors and trim profiles while ordering housewrap, flashing and fasteners sized for local wind loads.
- 3
Tear-Off and Underlayment
Old siding is removed, damaged sheathing is replaced, new housewrap is installed with taped seams and all windows receive new flashing before any new siding goes up.
- 4
Installation and Detailing
Siding is hung with correct nailing patterns and expansion gaps, custom trim is fitted at corners, windows and decks, and final caulking is applied at penetrations.
- 5
Final Walk-Through and Cleanup
We review every elevation with the homeowner, point out new drainage paths, and remove all debris before leaving the site.
Pricing
Upfront written quotes based on measured square footage, material choice, and any sheathing or flashing repairs discovered during assessment.