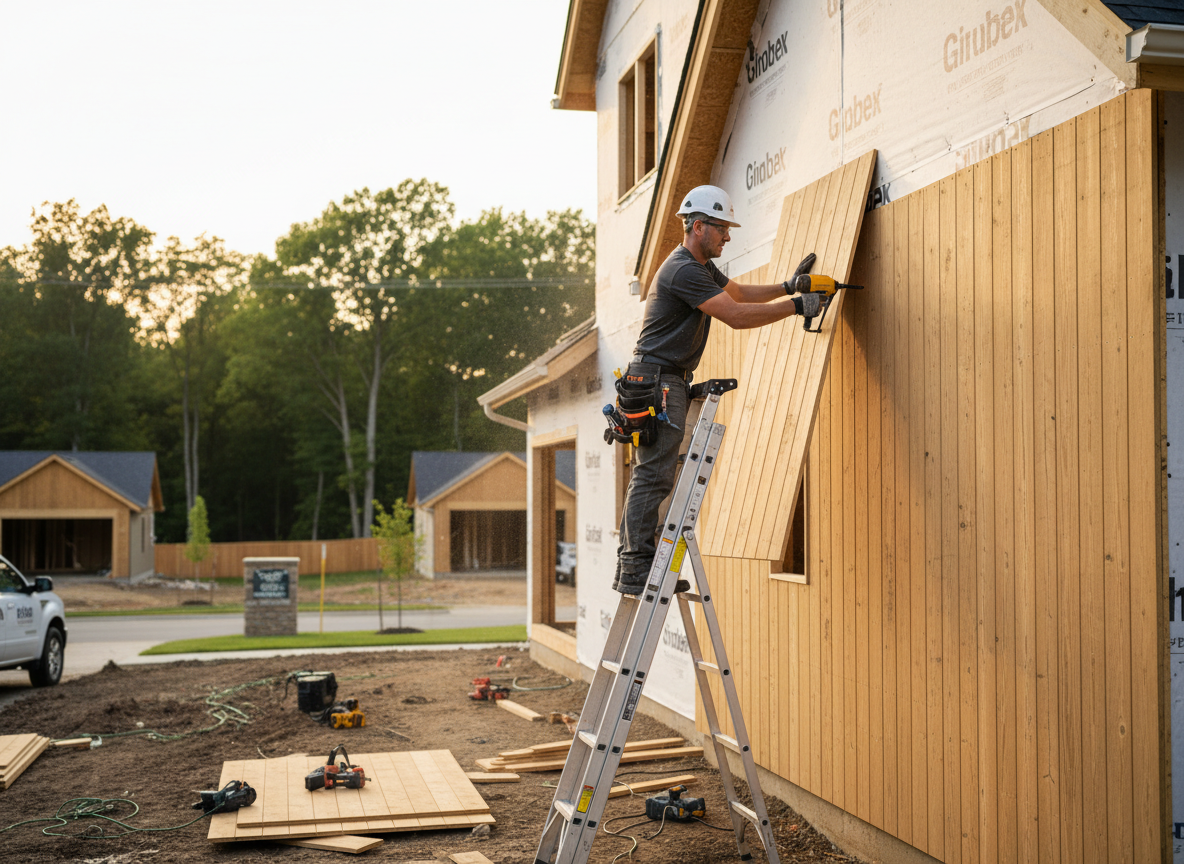
T1-11 siding on homes in Anderson Township often shows delamination along the grooves after repeated winter freeze-thaw cycles and summer humidity. The 8310 Beechmont Ave crew sees this most on 1970s and 1980s ranch and split-level houses where the original panels were installed without proper flashing at the bottom edge. We cut out damaged sections, replace with exterior-grade plywood, and apply two coats of exterior primer plus finish before reinstalling trim.
Edge nailing into the studs rather than just the sheathing prevents the panels from cupping during Cincinnati-area wind-driven rain events. We also check the housewrap condition behind every removed panel because Anderson Township lots with slight slopes toward the foundation let water sit against the lower course. Skipping this step leads to rot that travels up the wall cavity within two seasons.
Code requirements in Hamilton County call for a 6-inch clearance above grade on all wood siding, something many older Anderson Township properties never had when the T1-11 was first installed. We raise the bottom course on pressure-treated ledger boards when needed and add weep holes at the base trim to let trapped moisture escape.
Technician insight
In Anderson Township, the thing that catches most people out with T1-11 siding is how the humid summers followed by freeze-thaw winters make the plywood delaminate right at the grooves if the bottom edge sits too close to the ground on sloped lots near Beechmont Ave.
Lower Course Replacement on a 1982 Ranch
Homeowner noticed bubbling paint and soft spots along the south wall after a heavy spring rain. We found the original T1-11 installed with only 3 inches of clearance above a slightly downhill grade. We removed the bottom two courses, installed a pressure-treated ledger to raise the new panels, added proper flashing, and finished with two coats of exterior paint.
How it works
- 1
Site Assessment
Walk the full perimeter noting groove condition, flashing details, and any slope toward the foundation typical on Anderson Township lots.
- 2
Panel Removal and Prep
Remove damaged T1-11 sections, inspect sheathing and housewrap, then prime all cut edges before new panels go up.
- 3
Installation and Sealing
Install new exterior-grade T1-11 with ring-shank nails into studs, caulk all vertical joints, and apply finish coats rated for Ohio humidity.
- 4
Final Trim and Drainage Check
Reinstall or upgrade trim, confirm 6-inch grade clearance, and verify weep paths so water does not pool against the new siding.
Pricing
Pricing depends on square footage, number of panels needing full replacement versus repair, and whether flashing or housewrap work is required.