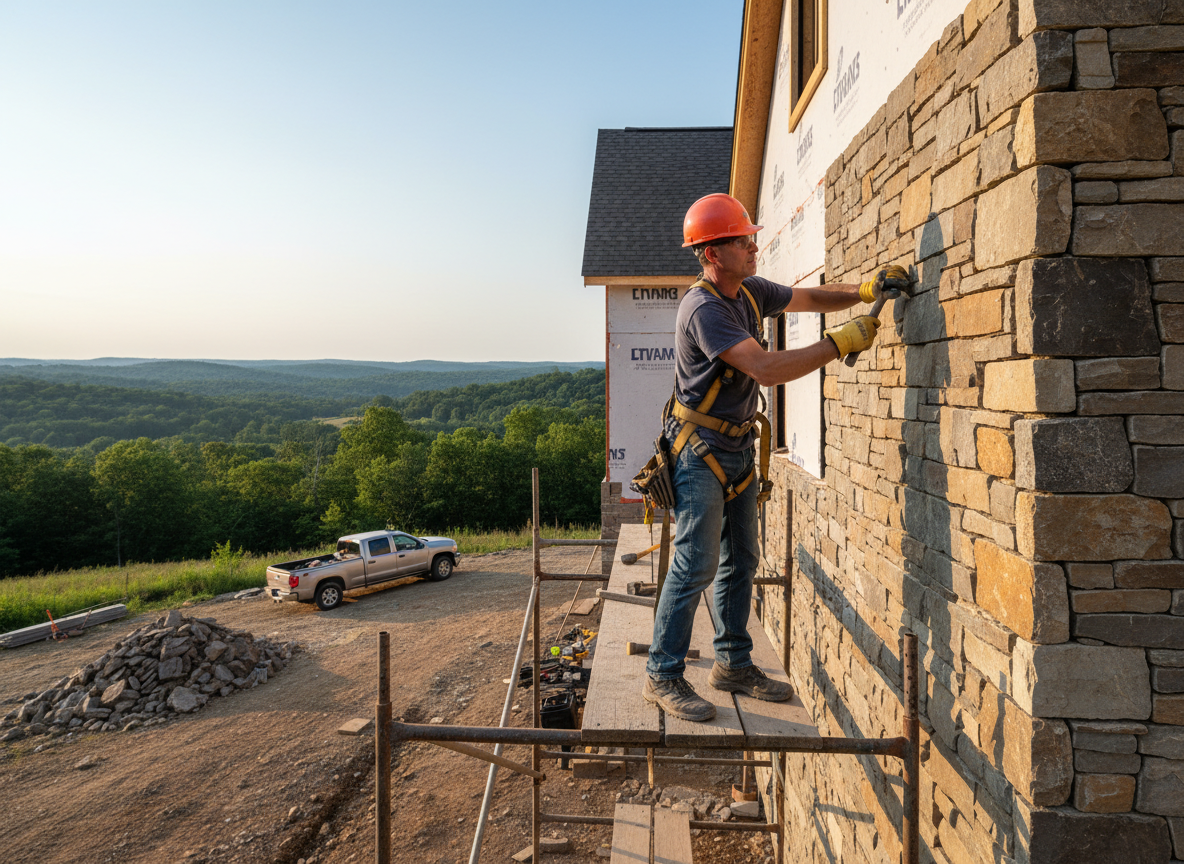
Rock siding, often installed as manufactured stone veneer over existing sheathing, requires careful attention to the age and construction of homes common in Anderson Township. Many properties along Beechmont Avenue and nearby streets date from the 1960s through 1980s, with wood-frame walls that can shift slightly over decades. Proper lath, weather-resistant barrier, and weep holes prevent moisture from reaching the framing during Cincinnati's frequent freeze-thaw cycles.
Edge cases appear regularly on sloped lots common in the township. When rock siding meets grade or meets rooflines on two-story homes, flashing details must extend at least six inches above soil and integrate with existing gutters. Failure here often shows first as efflorescence or spalling along the lower courses after heavy spring rains. Crews also check for proper expansion joints every ten to twelve feet on longer elevations to accommodate thermal movement.
Local building practices in Hamilton County call for a minimum 3/8-inch air gap behind the veneer in most applications. Skipping this detail on retrofits leads to trapped condensation against the housewrap, especially on north-facing walls that stay shaded longer in winter. Spark Patch inspects substrate condition first, replacing damaged sheathing before any stone is set, and uses corrosion-resistant fasteners rated for exterior exposure.
Technician insight
In Anderson Township the thing that catches most people out with rock siding is how the clay-heavy soil and rolling lots around Beechmont Ave push water against the lower courses during spring rains. Homeowners often skip extending the flashing six inches above grade on older ranches, then wonder why the mortar starts crumbling within two winters.
Lower-Level Rock Siding on Sloped Lot
Water was entering behind the existing stone on a 1978 split-level near Anderson Township's eastern edge. Inspection showed the original flashing stopped short of grade on the downhill side. We removed the lower three courses, added proper step flashing and a new weather-resistant barrier, then reset the rock with extended weep holes. No further moisture issues reported after the next heavy rain.
How it works
- 1
Site Assessment
Measure elevations, check substrate integrity, and note drainage patterns around the foundation.
- 2
Substrate Preparation
Install or repair weather-resistant barrier, lath, and flashing at all transitions.
- 3
Stone Application
Set rock siding with proper mortar mix and joint tooling for the chosen profile.
- 4
Final Inspection and Cleanup
Verify weep holes remain clear, clean mortar residue, and confirm integration with existing trim.
Pricing
Pricing varies by square footage, substrate condition, and stone profile selected; site visit required for accurate quote.