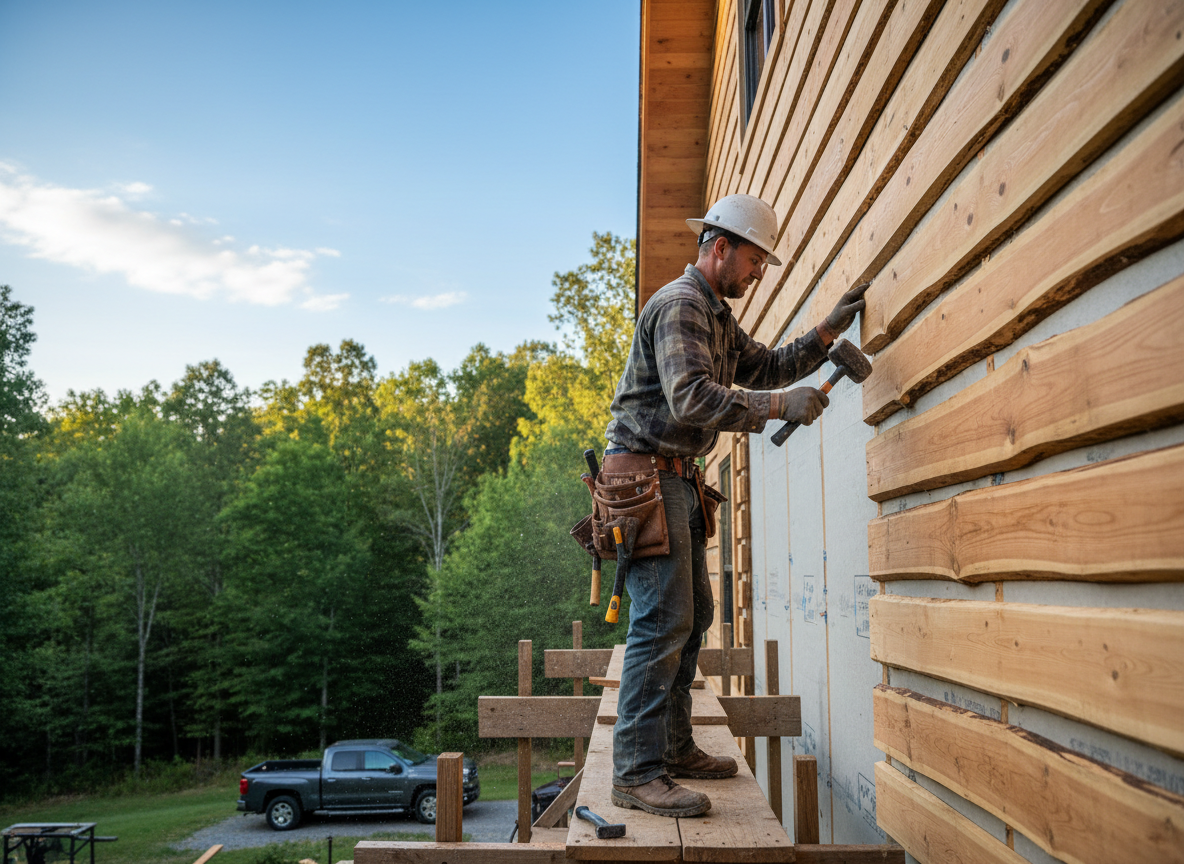
Log cabin siding in Anderson Township faces constant stress from Ohio's freeze-thaw cycles and high summer humidity. Older log structures common along Beechmont Avenue and in the surrounding hills often show gaps in chinking after repeated winter expansion and contraction. Proper maintenance requires selecting flexible, breathable sealants that accommodate wood movement without trapping moisture against the logs.
Edge cases arise when homes sit on sloped terrain typical of the area, where runoff can pool against lower courses and accelerate rot. Spark Patch inspects for hidden decay behind existing chinking and replaces compromised logs before re-sealing. Local building practices in Hamilton County also call for attention to ventilation details at gable ends to prevent condensation inside the wall assembly.
Homeowners sometimes attempt DIY chinking with rigid materials that crack within two seasons. Professional installation uses backer rod sized to the actual joint width found on each wall, followed by multiple thin coats of compatible stain that allow the logs to dry between applications. This approach extends service life in the variable Anderson Township climate.
Code considerations include maintaining proper clearances around windows and doors where siding meets trim, especially on homes built before current energy standards. Spark Patch documents existing conditions and ensures new work meets visible inspection points without altering the original log profile.
Technician insight
In Anderson Township the thing that catches most people out with log cabin siding is how quickly Ohio winter runoff from the hills saturates the lower two courses when gutters are clogged. That moisture sits against the logs for weeks and starts rot before homeowners notice anything wrong with the chinking.
Lower Course Rot on Sloped Lot
Water had pooled against the south wall of a log home off Beechmont Ave after heavy spring rains. Inspection revealed soft logs behind cracked chinking at ground level. We removed the damaged sections, installed new treated logs, and re-chinked the full elevation with flexible compound sized for the joints. The owner now checks drainage after every storm.
How it works
- 1
Site Assessment
Walk the full perimeter noting log condition, chinking gaps, and drainage patterns around the foundation.
- 2
Log Preparation
Remove failed chinking, clean surfaces, and treat any surface decay before new material is applied.
- 3
Chinking and Sealing
Install backer rod and flexible chinking compound matched to joint movement in the local climate.
- 4
Finish Application
Apply breathable stain in thin coats, allowing drying time between passes to match existing color.
- 5
Final Walkthrough
Review all sealed joints and provide homeowner guidance on seasonal monitoring.
Pricing
Cost depends on log condition, number of stories, and extent of decay found during inspection; upfront quotes provided after site visit.