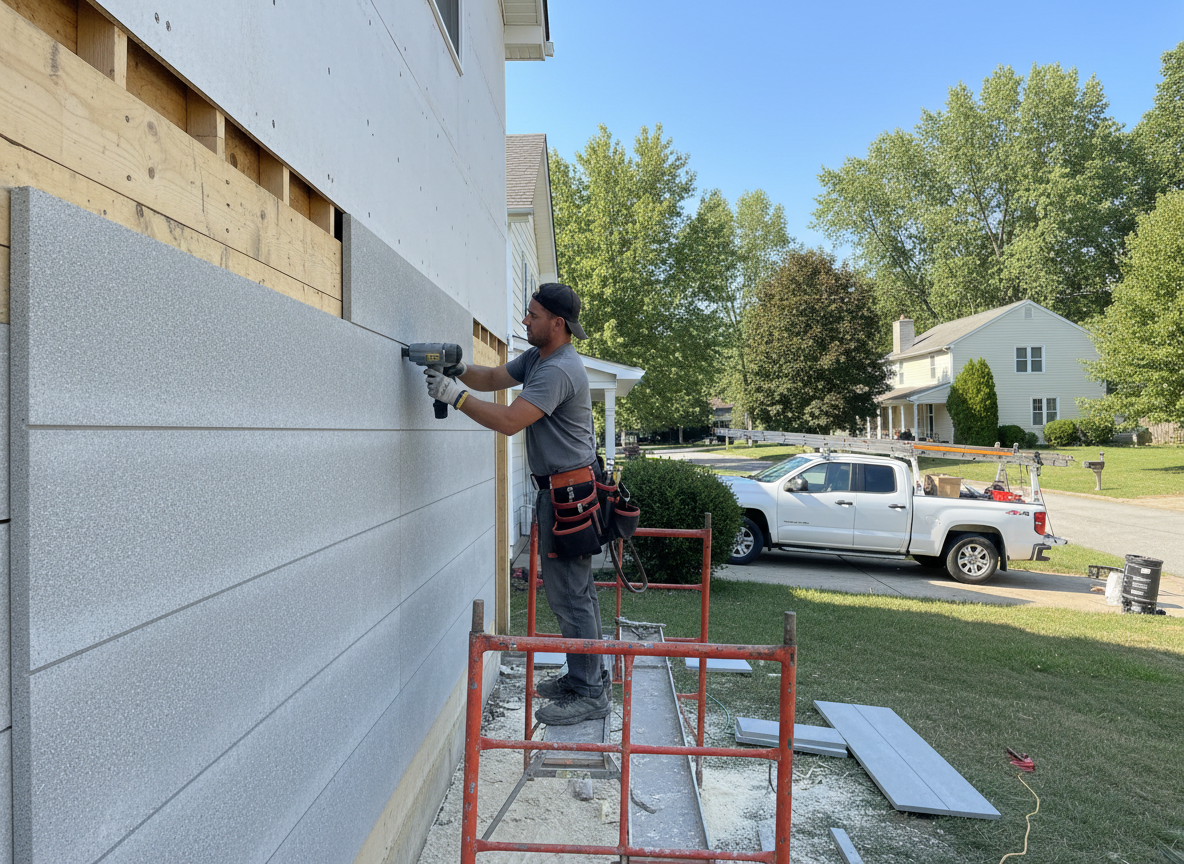
Concrete board siding, also called fiber cement, requires precise handling because the material expands and contracts with temperature swings common around Anderson Township. Installers must leave correct gaps at seams and use corrosion-resistant fasteners to prevent moisture intrusion behind the boards. Homes in this part of Hamilton County often date from the 1960s through 1980s, when builders frequently used wood siding that now shows rot at the base and around windows.
When replacing existing siding, crews first check the sheathing and housewrap for damage caused by years of wind-driven rain off the nearby hills. Concrete board demands a solid nailing surface; soft or deteriorated OSB must be replaced before new boards go up. Edge trimming around vents, electrical boxes, and hose bibs needs flashing tape and caulk rated for exterior use to keep water out during heavy spring rains.
Proper joint treatment matters most on two-story homes where ladders limit access. Using pre-primed boards and touching up cut edges on site reduces long-term peeling. Spark Patch works from its location at 8310 Beechmont Ave to reach jobs in Anderson Township quickly, allowing same-day assessment when homeowners notice buckling or mildew streaks along the foundation line.
Seasonal Maintenance for Concrete Board
Inspect caulk lines each fall before temperatures drop and again in spring after freeze-thaw cycles. Re-seal any gaps around penetrations to avoid water migrating behind the boards and into the wall cavity.
Technician insight
In Anderson Township the thing that catches most people out with concrete board siding is hidden rot along the bottom plates on split-level homes built into the hillsides; water pools there after heavy rains and the damage stays invisible until the old siding comes off.
Split-Level Home on Beechmont
Homeowner noticed soft spots near the garage on a two-story house off Beechmont Ave. Removal revealed rotted OSB and saturated housewrap at the base of the north wall. Crew replaced the sheathing, added new flashing at grade, and installed concrete board with a 1/4-inch clearance above the concrete apron. The finished wall now sheds water properly and matches the rest of the elevation.
How it works
- 1
Site Assessment
Measure all elevations, note existing substrate condition, and identify drainage issues around the foundation.
- 2
Material Selection
Choose board thickness and texture that match the home's architectural style while meeting local wind-load requirements.
- 3
Preparation
Remove old siding, repair sheathing, install new housewrap, and flash all openings.
- 4
Installation
Hang boards with proper spacing, fasten per manufacturer schedule, and apply joint treatment.
- 5
Final Inspection
Check every seam, corner, and penetration before cleanup and homeowner walkthrough.
Pricing
Project cost depends on square footage, number of stories, and condition of the existing wall assembly.