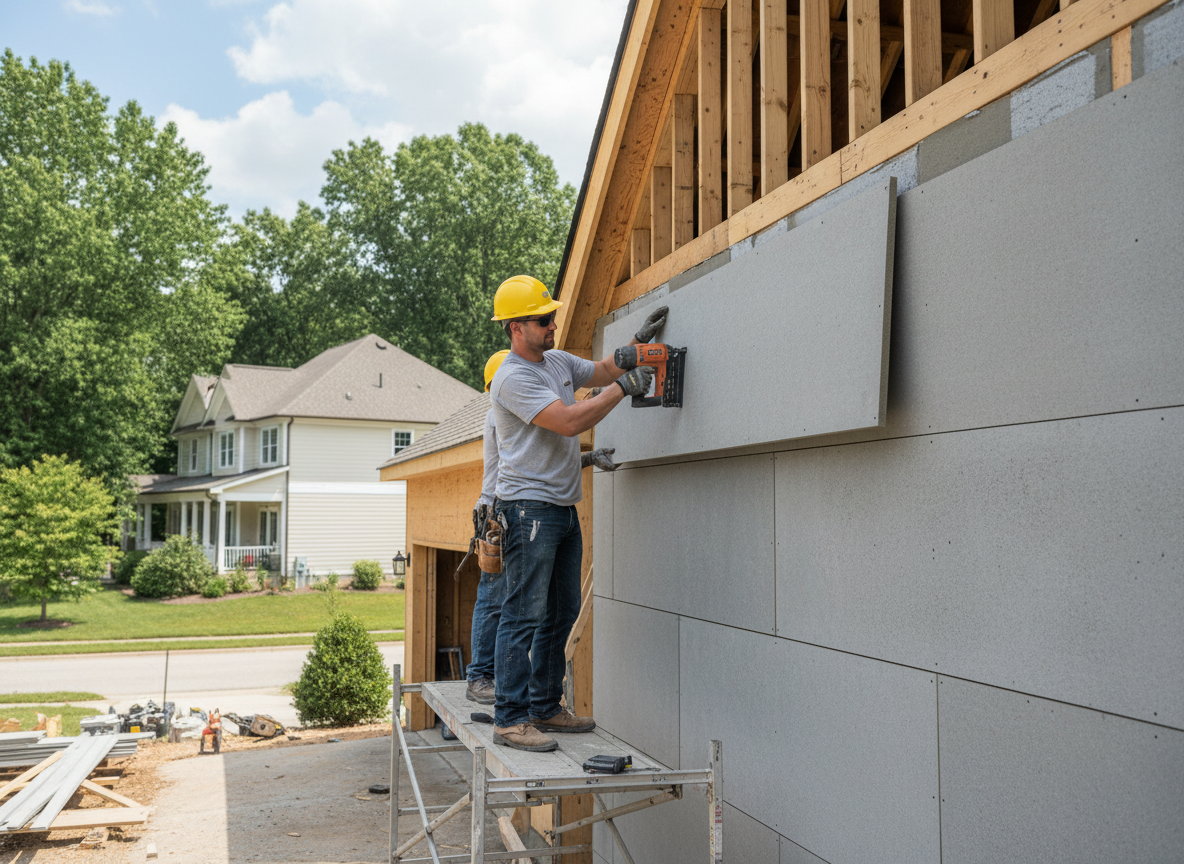
Cement siding, often called fiber cement, holds up well against the freeze-thaw cycles common in Anderson Township. Older homes here, many built between the 1950s and 1980s, frequently have wood sheathing that has absorbed moisture over decades. Proper installation starts with checking for rot and adding a drainage plane so water does not get trapped behind the boards. Skipping this step leads to callbacks when boards buckle after a harsh winter.
Homeowners in neighborhoods around Anderson Township often choose cement siding to replace aging aluminum or vinyl that has faded or cracked. The material requires precise nailing schedules and expansion gaps to handle Cincinnati-area humidity swings. Crews must also account for the slope of lots near the Little Miami River corridor, where runoff can pool against foundations and wick into lower courses of siding.
Code requirements in Hamilton County call for proper flashing at windows and doors plus a minimum clearance above grade. Cement siding jobs in Anderson Township frequently involve matching existing trim profiles on ranch and two-story homes so the new work blends with the neighborhood. Leaving gaps or using the wrong fasteners around electrical penetrations creates long-term leak points that are expensive to fix later.
Local Installation Considerations
Cement siding work in Anderson Township demands extra attention to corner details and gable ends where wind-driven rain hits hardest. Crews often add extra sealant at butt joints on south-facing walls that receive the most sun exposure.
Technician insight
In Anderson Township, the thing that catches most people out with cement siding contractors is how many 1960s and 1970s homes have sheathing that has already started to soften near the bottom plates from years of splash-back off the gutters.
Moisture Damage on a Ranch Near Beechmont
Homeowner noticed soft spots along the east wall after heavy spring rains. We found rotted OSB behind the old vinyl where the lot sloped toward the house. Removed the affected siding, replaced the sheathing section, added a rainscreen, and installed new cement boards with proper clearance at grade.
How it works
- 1
Site Assessment
Walk the property to check existing siding condition, sheathing integrity, and drainage around the foundation.
- 2
Material Selection
Review cement board profiles and colors that match the home's age and neighborhood standards.
- 3
Prep and Removal
Remove old siding, repair damaged sheathing, and install housewrap with proper overlaps.
- 4
Installation
Hang boards with correct fasteners, maintain expansion gaps, and flash all openings.
- 5
Final Details
Apply caulk at joints, install trim, and conduct a final walkthrough with the homeowner.
Pricing
Costs depend on square footage, number of stories, and condition of existing sheathing; we provide upfront written quotes after the site visit.